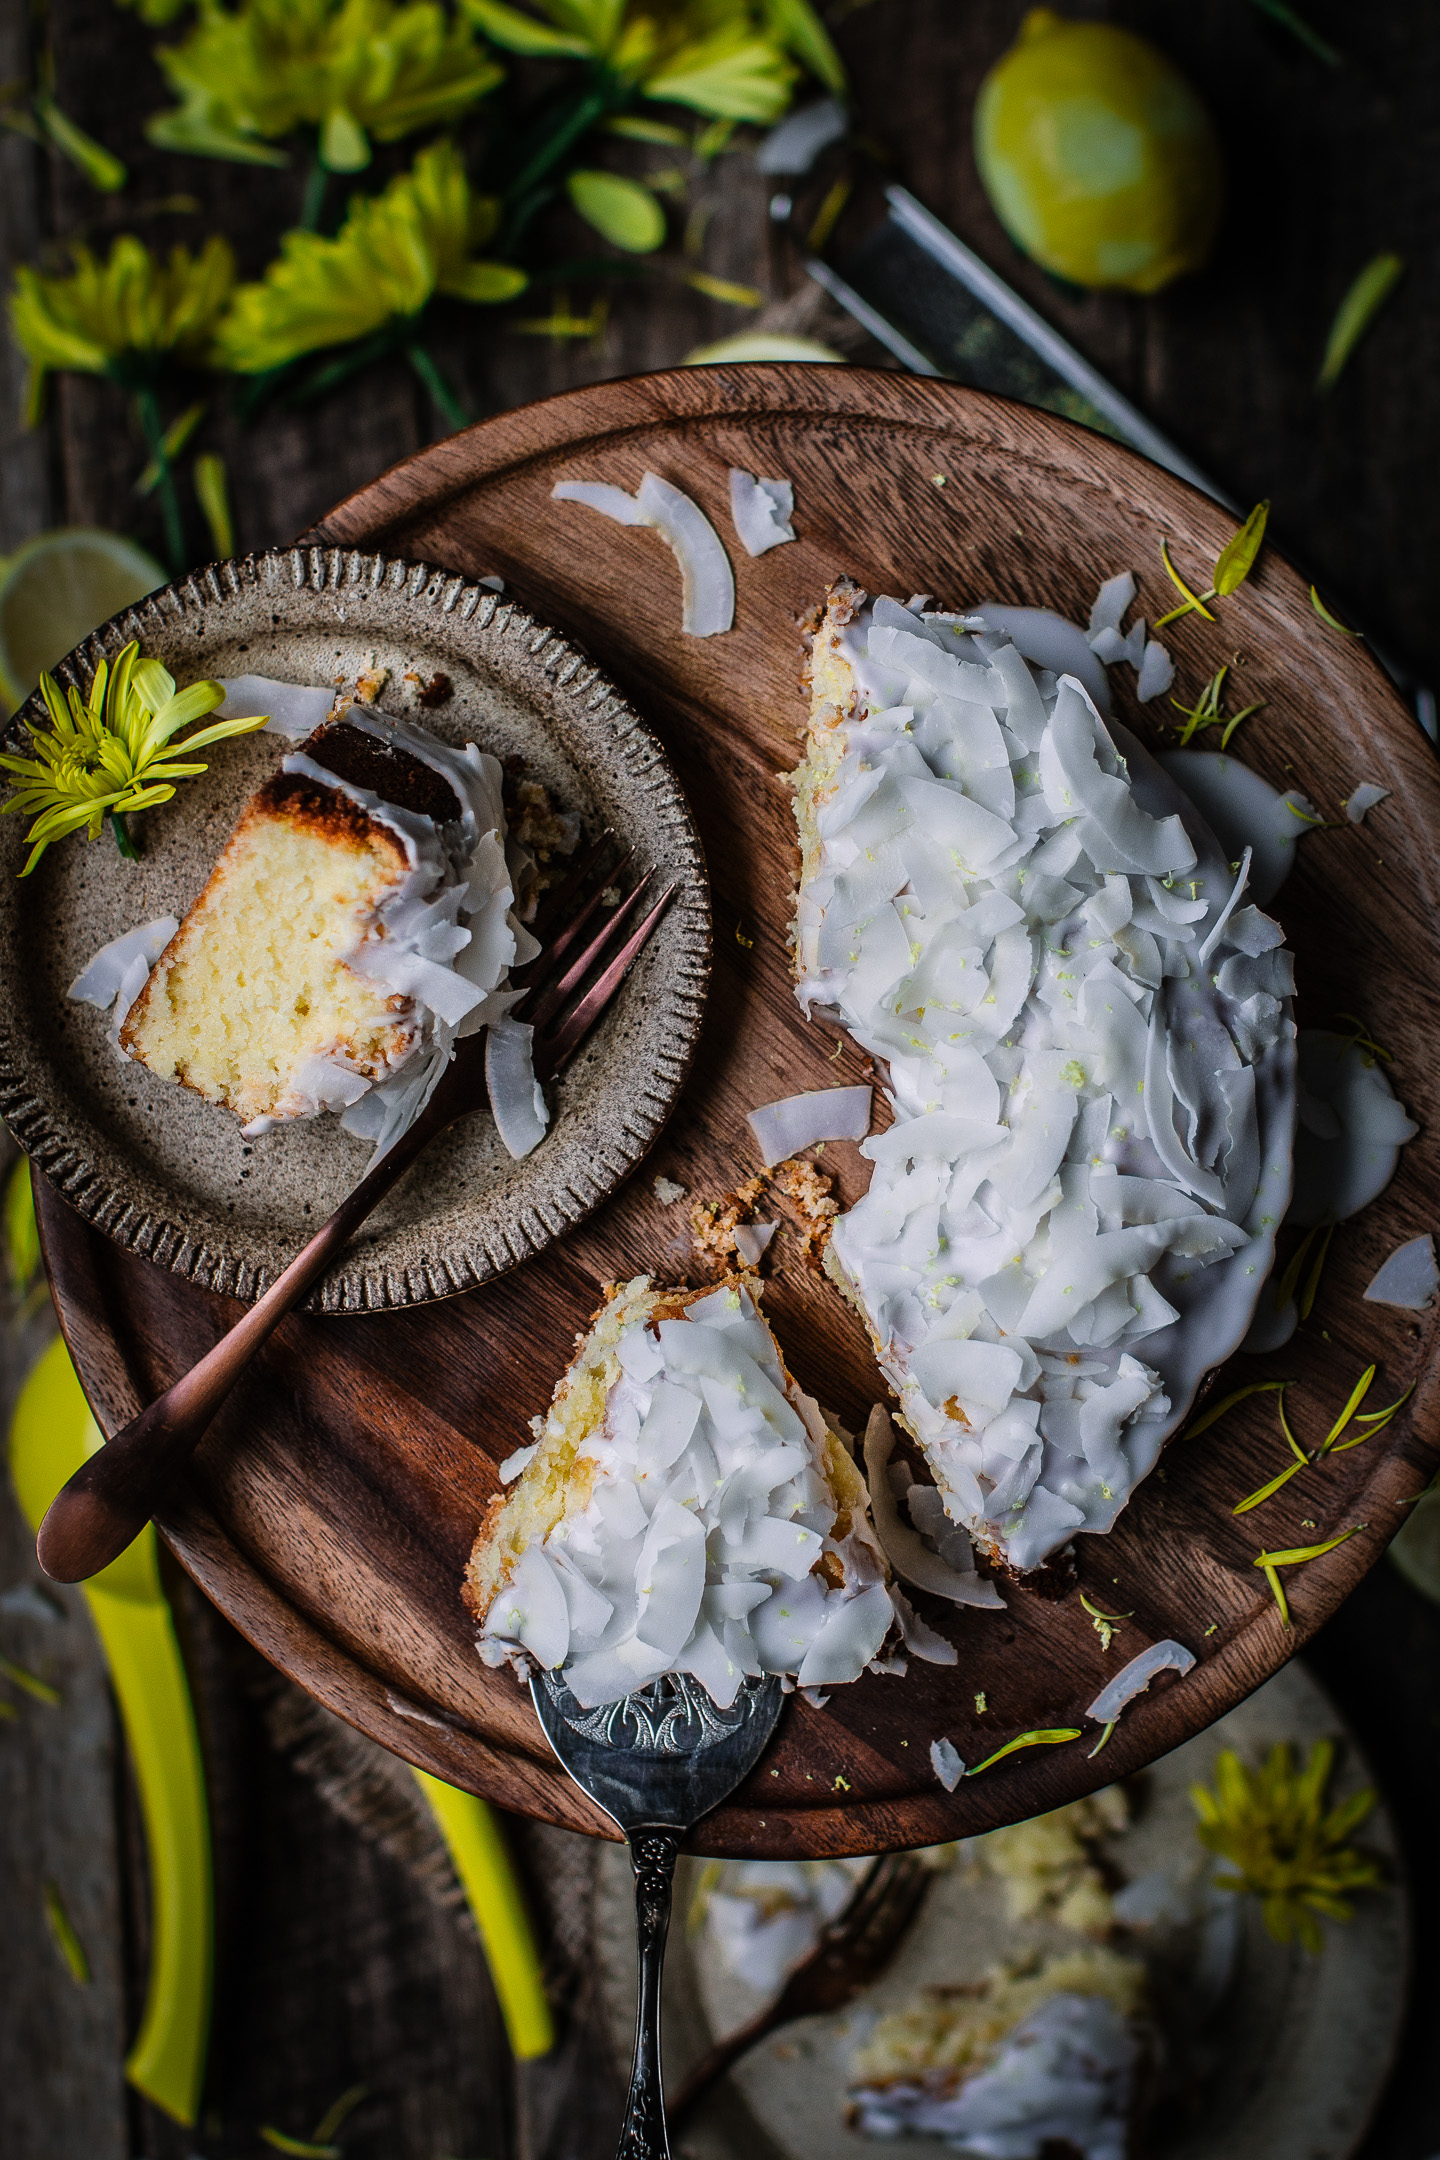
Ask anyone who cannot eat gluten what they miss most and I guarantee baked goods will rank high on the list. Gluten is the glue that holds baked items together; it is what gives dough its stretch and elasticity and helps cakes rise beautifully – which is why baking is the most challenging cooking skill to master when you eliminate gluten from your diet.
The absence of gluten does not mean that you must say goodbye to soft bouncy bread that bends and doesn’t carry the weight of a brick, beautiful flaky pastries that don’t require a chainsaw to slice through and moist delicious cakes that don’t crumble into a rubbery mess. After may years of gluten free baking I have collated my top 20 Gluten Free Baking Tips to help you master the art of gluten free baking in no time.
20 Gluten Free Baking Tips
- The quality of commercially available gluten free flours varies greatly. I recommend Ardor Gluten Free Flour or Bob’s Red Mill 1 to 1 Baking Flour (blue label) as a great quality plain gluten free flour.
- To convert plain gluten free flour to self raising flour, add 2 tsp baking powder to every cup of plain flour.
- If you substitute flours, do this by weight not cups because flours don’t weigh the same.
- If you need to add some stretch to your gluten free dough xanthan gum works wonders. A little goes a long way so don’t add too much or your baked items will have a gummy texture. Ground chia, flaxseed and psyllium husk also work well.
- Gluten free recipes generally require extra leavening agents to mimic the gluten. Baking powder and/or baking soda will help make your dough rise and ‘pop’. The addition of baking powder to my fluffy cinnamon scrolls works a treat.
- Use the pan size specified in the recipe if you want your cake to look like the photo. If your pan is too small your cake will overflow and if it’s too big you’ll end up with a pancake!
- Grease your pans properly and line with baking paper where possible. Ensure every nook and cranny is well buttered. Dust your greased bundt tin with flour or cocoa to prevent batter sticking to the tin. There is nothing more frustrating than a beautiful cake sticking to the fancy grooves of that ornate bundt tin!
- Read through the recipe and check the shelf life of all ingredients before you get started. Baking powder, baking soda, xanthan gum and nut meals have a shorter shelf life so ensure they are not rancid.
- Use ingredients at room temperate to ensure everything emulsifies well and cooks evenly. The exception to this rule is pastry where you need cold butter.
- Always start by preheating your oven. If your baked items don’t start cooking at the correct temperature you may not get that beautiful rise when dough first hits a hot oven.
- When measuring dry ingredients always level with a knife to ensure quantities are accurate.
- Add eggs one at a time to ensure they are properly incorporated into your batter. Scrape the bowl between each egg addition to help emulsify the mixture.
- Always rest your pastry dough to allow it to firm up and prevent shrinkage when baking. Properly rested dough is always easier to work with.
- Roll out pastry between two sheets of baking paper to prevent it from sticking to your rolling pin. The added benefit of this method is you won’t have a floury mess on your kitchen bench. I hate cleaning and I’m sure you do too.
- If your cookie dough is too sticky to roll pop it in the fridge for 30 minutes. You can also dust it with a little extra flour to help firm it up.
- Chilling your cookie dough for at least 30 minutes or overnight will result in a crispier, more golden cookie with greater flavour intensity.
- Taste as you go. You can’t add another tablespoon of sugar or pinch of cinnamon to a baked cake! Taste the batter before pouring it into the tin. Make adjustments accordingly.
- Immediately transfer hot bread from the oven to a wire cooling rack to stop the crust from going soggy. The air circulating around the loaf will create a crispy crust.
- Cooling time is critical. Only ice your cakes when they are completely cool otherwise the residual heat will melt the icing leaving you with a dribbly mess. You must also rest and cool your bread before slicing otherwise it will be gummy inside.
- Have fun and learn from your mistakes. You are on your way to being a master baker!


Thankyou for your wonderful tips!!
I watched you today on Justine’s everyday gourmet show making the greek loukoumades- boy did they look mouthwatering!!
I am finding that baking gluten free recipes for my son is very overwhelming and frustrating at times but i looked you up and found your recipes which sound so delicious and doable!!
Are the loukoumades there also?
I look forward to start experimenting and adopting a more positive attitude towards gluten free baking!!!
Thank you 😊
Thank you so much. You can find the recipe for loukoumades in my latest cookbook GLUTEN FREE MEDITERRANEAN and on the Everyday Gourmet website. Enjoy!
I was wondering what brand gluten free plain flour you use for Crispy Choc Chip Cookies 🍪 in your tv show loving gluten free.
From memory we used Bob’s Red Mill 1 to 1 plain gluten free flour to make the cookies. It’s a blue pack.
I was wondering what brand Gluten free plain flour you used in your recipe Crispy Choc Chip Cookies on your show loving gluten free.